フロントエンドエンジニアの田原です。 本日は全世界待望のマトリックス最新作(マトリックスレザレクションズ)の記念して Matrix Rain を教えてもらいながら作って みたのでそちらについて共有させて頂きたいと思います。
目次
はじめに
「教えてくれ、アンダーソン君。コードを書くにはどうすればいいかね?もし、君が成果物を先に出さないんだとしたら?」と皆さんの心の中のエージェント・スミスに言われてしまいそうなので先にどういう結果になるかの URL を貼っておきます。こちら
作り方
まずは殆ど初期状態のindex.htmlとstyle.cssを用意します。
※link 先のコードを参考にしてください。
次に js ファイルを用意し、「君は選ばれし者なのだ、ネオ。君は数年前から私を探してきたかもしれないが、私は生涯をかけて君を探してきた」とモーフィアスの気持ちになり自身の心の中にいるネオに語りかけてください 実装を初めてください。
STEP1
canvas dom を取得し、context の設定と canvas 画面の高さ・横幅を取得しておきます。 global 変数として使う為スコープは切っておりません。
const canvas = document.getElementById('canvas')
const ctx = canvas.getContext('2d')
canvas.width = window.innerWidth
canvas.height = window.innerHeight
STEP2
次に Symbol クラスを定義していきます。 コンストラクタには x 軸と y 軸、文字の大きさ、cavnas 画面の高さを設定できるようにします。 流れてくる文字がランダム生成されて代入される用の text 変数とマトリックス文字(?)を初期値として設定しておきます。
class Symbol {
  constructor(x, y, fontSize, canvasHeight) {
    this.characters = `アァカサタナハマヤャラワガザダバパイィキシチニヒミリヰギジヂビピウゥクスツヌ
    フムユュルグズブヅプエェケセテネヘメレヱゲゼデベペオォコソトノホモヨョロヲゴゾドボポヴッン0123456
    789ABCDEFGHIJKLMNOPQRSTUVWXYZ`
    this.x = x
    this.y = y
    this.fontSize = fontSize
    this.text = ''
    this.canvasHeight = canvasHeight
  }
}
更にこのクラス内に draw メソッドを生やします。実際に canvas 画面に描画する文字が塗られるのはこのメソッドの処理によるものです。
// Symbolclassに追加します

draw(context) {
  this.text = this.characters.charAt(
    Math.floor(Math.random() * this.characters.length)
  )

  context.fillText(this.text, this.x * this.fontSize, this.y * this.fontSize)
  if (this.y * this.fontSize > this.canvasHeight) {
    this.y = 0
  } else {
    this.y += 1
  }
}
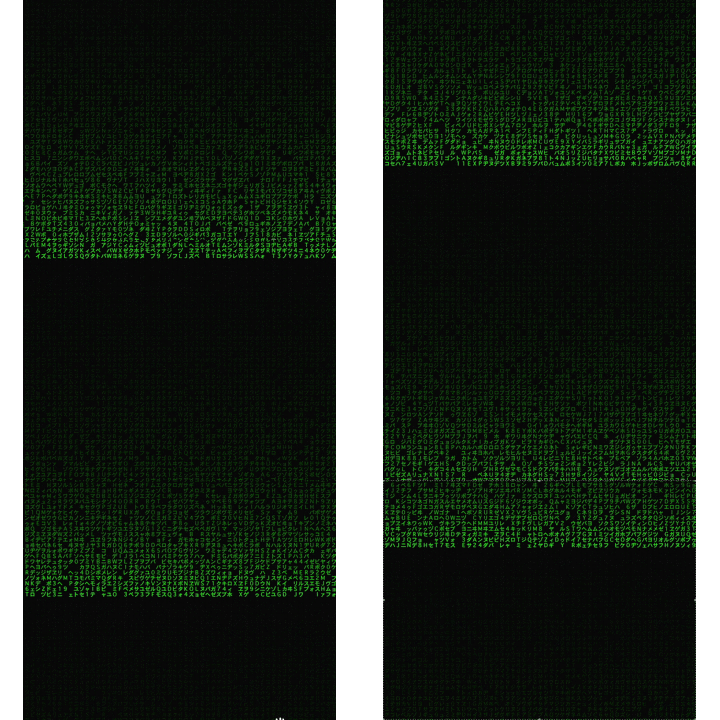
先程、設定した text の中にまずはマトリックス文字がランダムで入るようにします。 次に引数として渡した context を使い、fillText で文字を描画します。 fontSize 掛け算する事で文字が重ならない座標を指定します。 draw は文字列を描画するために後ほど for でループで回す必要があるので y 軸の座業が canvas の高さを越えないように y 軸をリセットする様にしておきます。それ以外の場合は 1 ずつ座標が増えていくことで y 軸に文字が順に描画されるようになります。
Symbol クラスについてはこれで完成です。
class Symbol {
  constructor(x, y, fontSize, canvasHeight) {
    this.characters = `アァカサタナハマヤャラワガザダバパイィキシチニヒミリヰギジヂビピウゥクスツヌ
    フムユュルグズブヅプエェケセテネヘメレヱゲゼデベペオォコソトノホモヨョロヲゴゾドボポヴッン0123456
    789ABCDEFGHIJKLMNOPQRSTUVWXYZ`
    this.x = x
    this.y = y
    this.fontSize = fontSize
    this.text = ''
    this.canvasHeight = canvasHeight
  }
  draw(context) {
    this.text = this.characters.charAt(
      Math.floor(Math.random() * this.characters.length)
    )

    context.fillText(this.text, this.x * this.fontSize, this.y * this.fontSize)
    if (this.y * this.fontSize > this.canvasHeight) {
      this.y = 0
    } else {
      this.y += 1
    }
  }
}
STEP3
次に Effect クラスを作っていきます。 こちらは先程、作成した Symbol クラスを内部でインスタンス生成し、呼び出していく為のクラスになります。
まず、Symbol クラス同様にコンストラクタに各定義を行い、インスタンス生成用で使う initialize と画面サイズに対応できるように resize メソッドを生やします。
class Effect {
  constructor(canvasWidth, canvasHeight) {
    this.canvasWidth = canvasWidth
    this.canvasHeight = canvasHeight
    this.fontSize = 18
    this.columns = this.canvasWidth / this.fontSize
    this.symbol = []
    this.initialize()
  }
  initialize() {
    for (let i = 0; i < this.columns; i++) {
      this.symbol[i] = new Symbol(i, 0, this.fontSize, this.canvasHeight)
    }
  }
  resize(width, height) {
    this.canvasWidth = width
    this.canvasHeight = height
    this.columns = this.canvasWidth / this.fontSize
    this.symbol = []
    this.initialize()
  }
}
比較的完結な処理になりますが、補足すると columns に canvas で描ける列の数値がはいっており、列数分をループさせて Symbol クラスを使ったインスタンスを symbol の配列に格納しております。
STEP4
Effect クラスを呼び出してアニメーションでループさせる処理を作っていきます。
const effect = new Effect(canvas.width, canvas.height)
次に animation メソッドを作成し色の設定を行います。
const animation = (timestamp) => {
  // 黒く塗りつぶす処理
  ctx.fillStyle = 'rgba(0, 0, 0, 0.05)'
  ctx.textAlign = 'center'
  ctx.fillRect(0, 0, canvas.width, canvas.height)

  // 緑で文字を描画するる処理
  ctx.fillStyle = '#0aff0a'
  ctx.font = effect.fontSize + 'px monospace'
  effect.symbol.forEach((symbol) => symbol.draw(ctx))
}
そしてこのアニメーションを連続で発火させるために関数内部にrequestAnimationFrameを設定します。
ここまでで animation()を呼び出すとのような感じになります。
const effect = new Effect(canvas.width, canvas.height)
const animation = (timestamp) => {
  ctx.fillStyle = 'rgba(0, 0, 0, 0.05)'
  ctx.textAlign = 'center'
  ctx.fillRect(0, 0, canvas.width, canvas.height)

  ctx.fillStyle = '#0aff0a'
  ctx.font = effect.fontSize + 'px monospace'
  effect.symbol.forEach((symbol) => symbol.draw(ctx))

  requestAnimationFrame(animation)
}

animation()

STEP5
最後にマトリックスっぽくします。 各種設定値を設定し、条件を追加していきます。
let lastTime = 0
const fps = 30
const nextFrame = 1000 / fps
let timer = 0

const animation = (timestamp) => {
  const deltaime = timestamp - lastTime
  lastTime = timestamp
  if (timer > nextFrame) {
    ctx.fillStyle = 'rgba(0, 0, 0, 0.05)'
    ctx.textAlign = 'center'
    ctx.fillRect(0, 0, canvas.width, canvas.height)
    ctx.fillStyle = '#0aff0a'
    ctx.font = effect.fontSize + 'px monospace'
    effect.symbol.forEach((symbol) => symbol.draw(ctx))
    timer = 0
  } else {
    timer += deltaime
  }
  requestAnimationFrame(animation)
}

animation(0)
これで、フレームレートの描画速度が調整できるようになりました。
最後に Y 軸の描画がランダムになるように if 文に条件を追加します。
&& Math.random() > 0.98を追加しております。
// Symbolクラスのdrawメソッド
if (this.y * this.fontSize > this.canvasHeight && Math.random() > 0.98) {
  this.y = 0
} else {
  this.y += 1
}

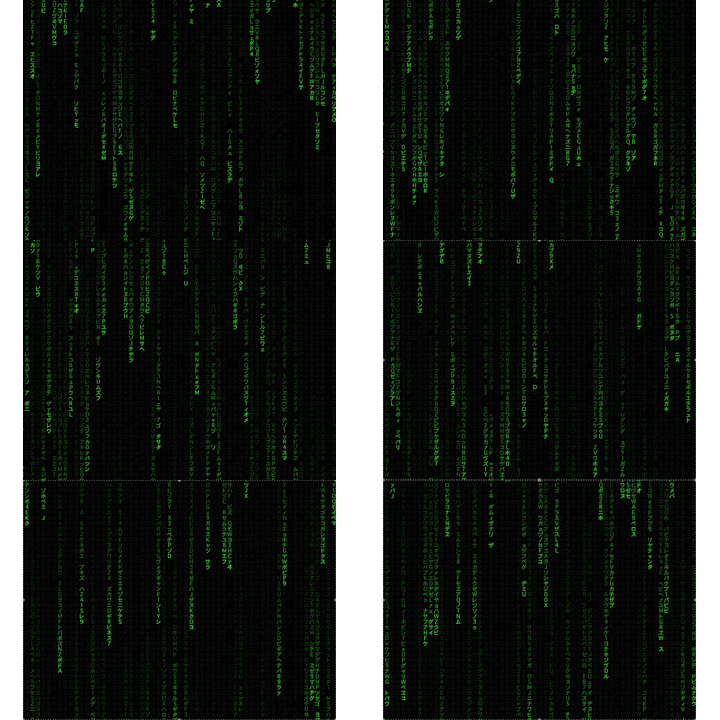
Matrix Rain になりました!!
window 幅を変更したときに初期化されるように resize イベントを追加して完成です。
まとめ
これまであまり触れることのなかった canvas ですが、教えてもらいながら少し触ってみて勘所的なものについては少しだけわかった気がします。(でも、まだまだムズい) JavaScript は色々な分野で使うことができるのでやっぱり好きだなぁと思いました。 すぐにでも見に行きたい最新作ですが、ちょっと年末時間がとれなさそうなので年始に見に行こうかなとおもっております。 最後まで読んで頂きありがとうございます。